
behind the scenes
Narnia map: from sketch to ink
I start each project by gathering references and creating a moodboard. For this map, I looked to the map in my own copy of The Chronicles of Narnia, illustrated by Pauline Baynes, alongside vintage maps and classic book design.
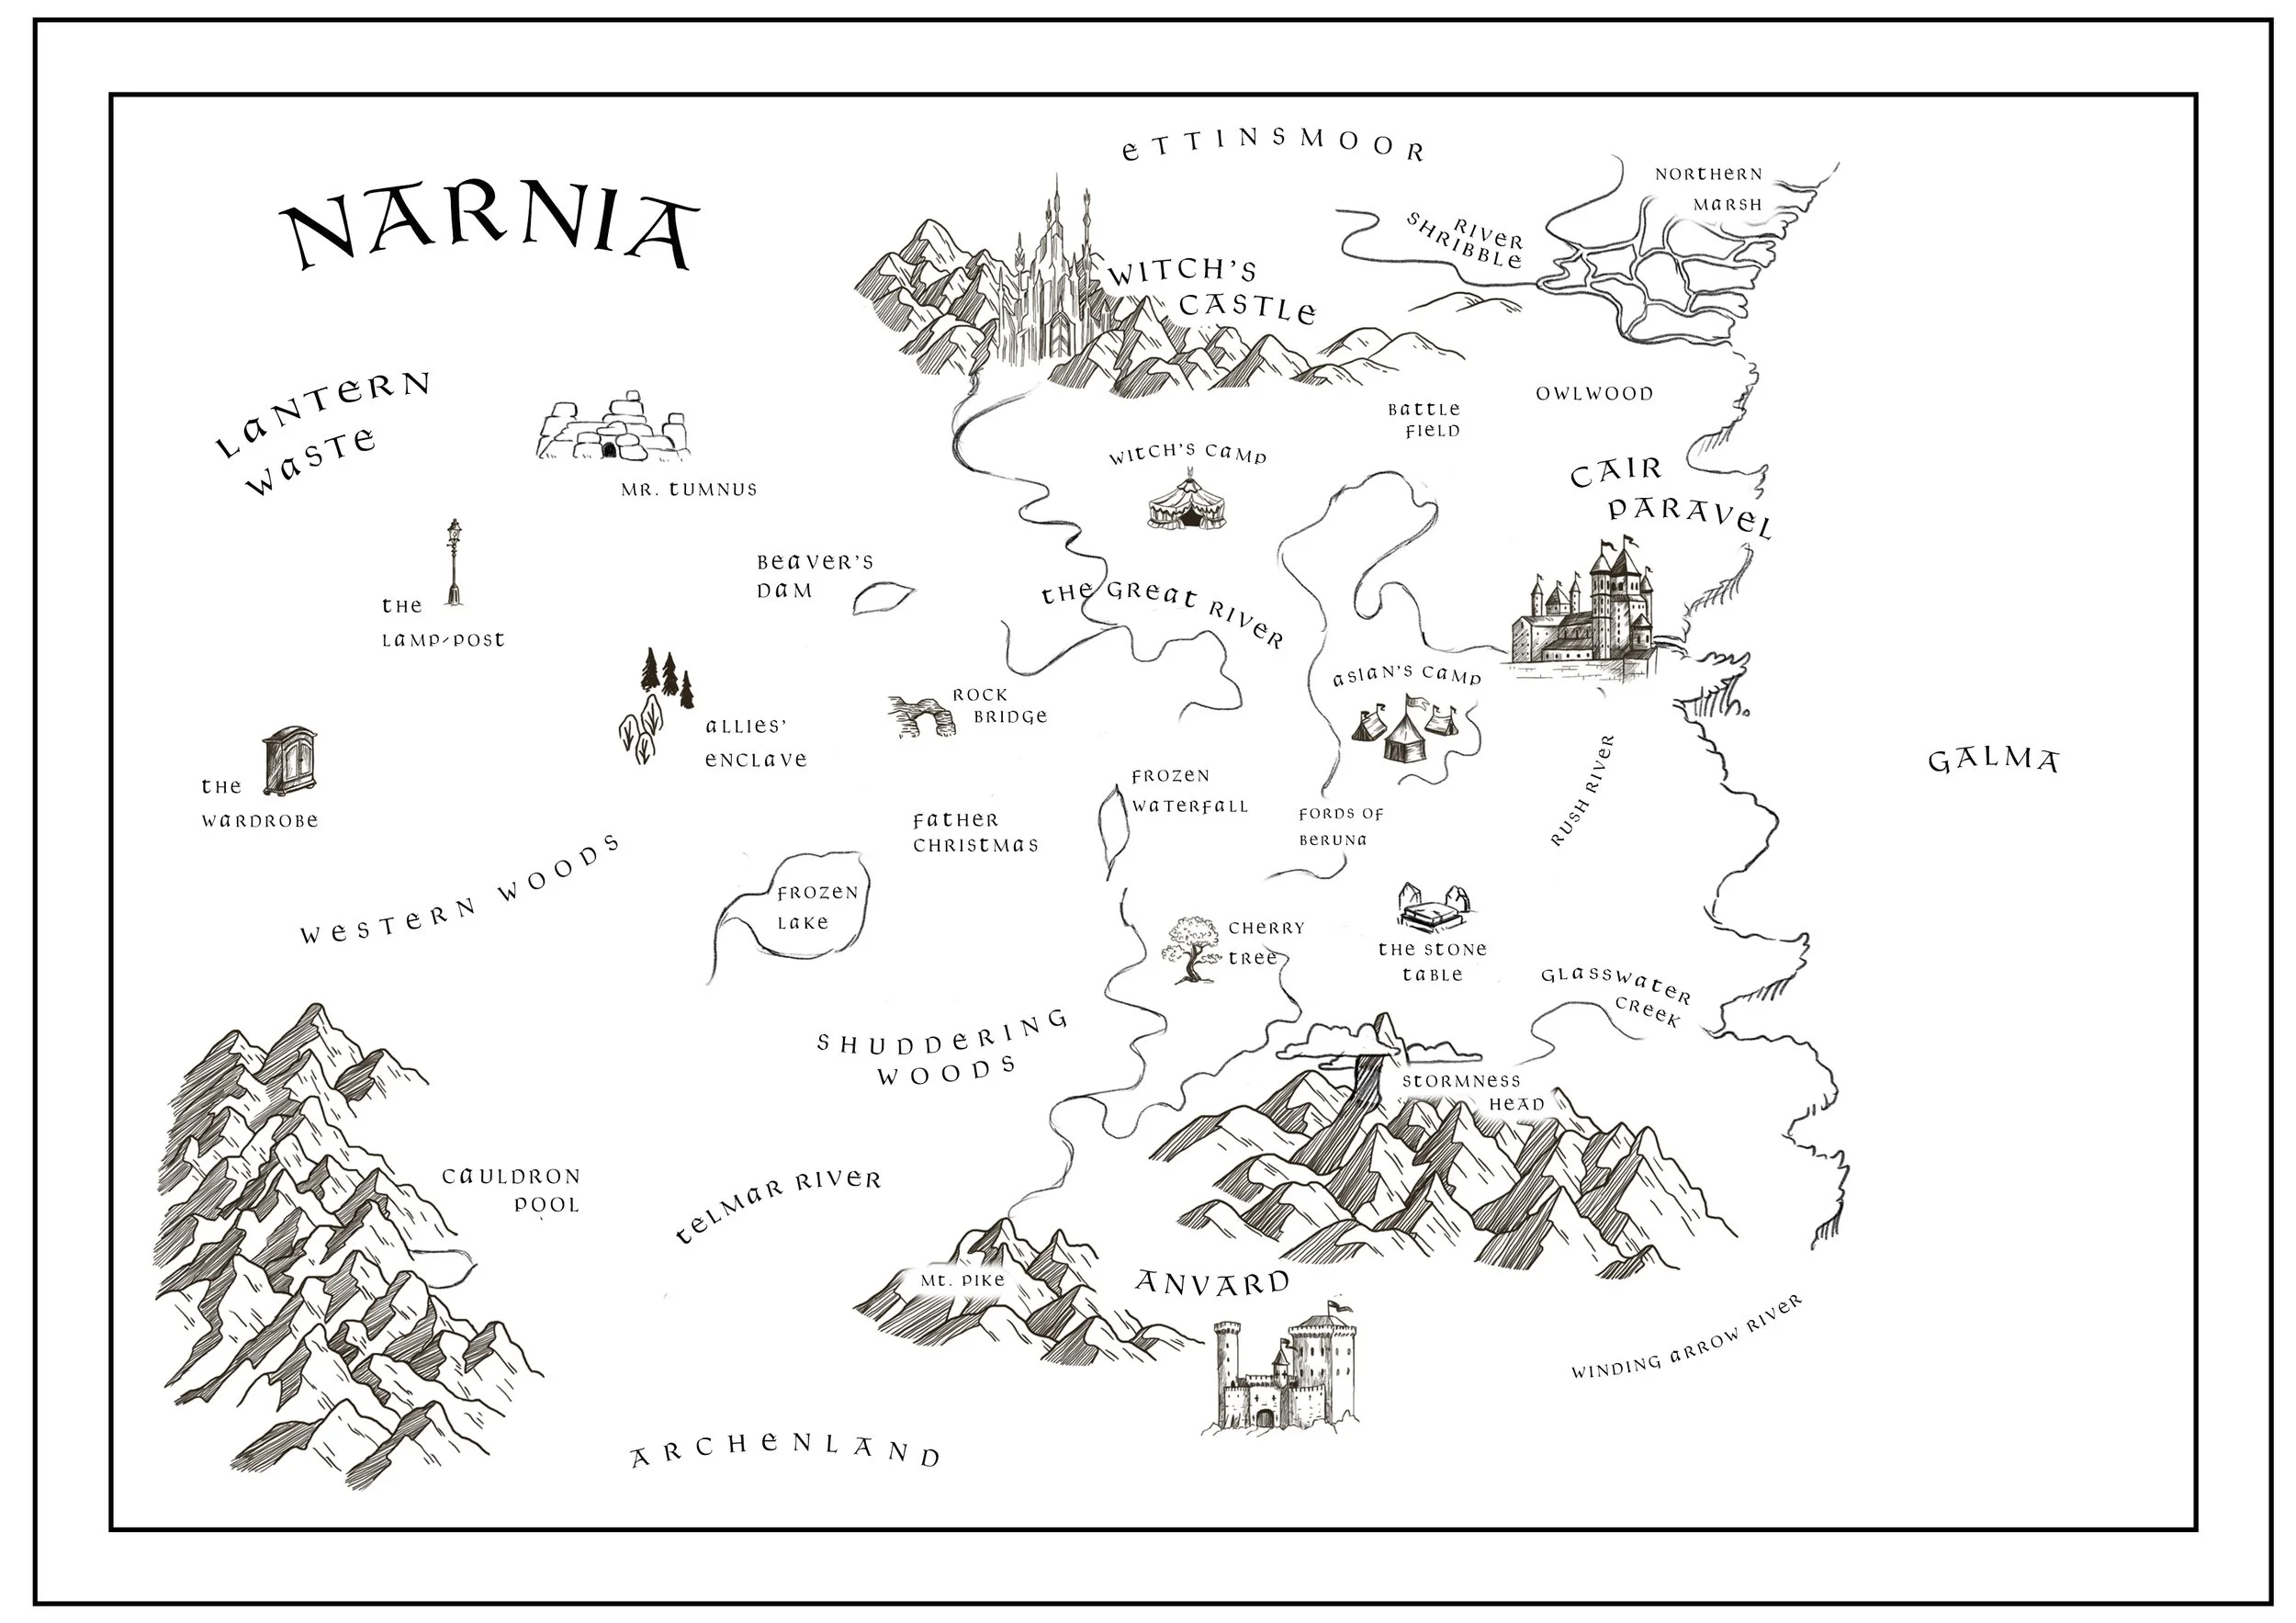
Building the foundations
I start in Procreate with a loose sketch, focusing on the shape of the land, the locations and the overall layout. I keep things simple at this stage, leaving out smaller details like trees, mountains and buildings.
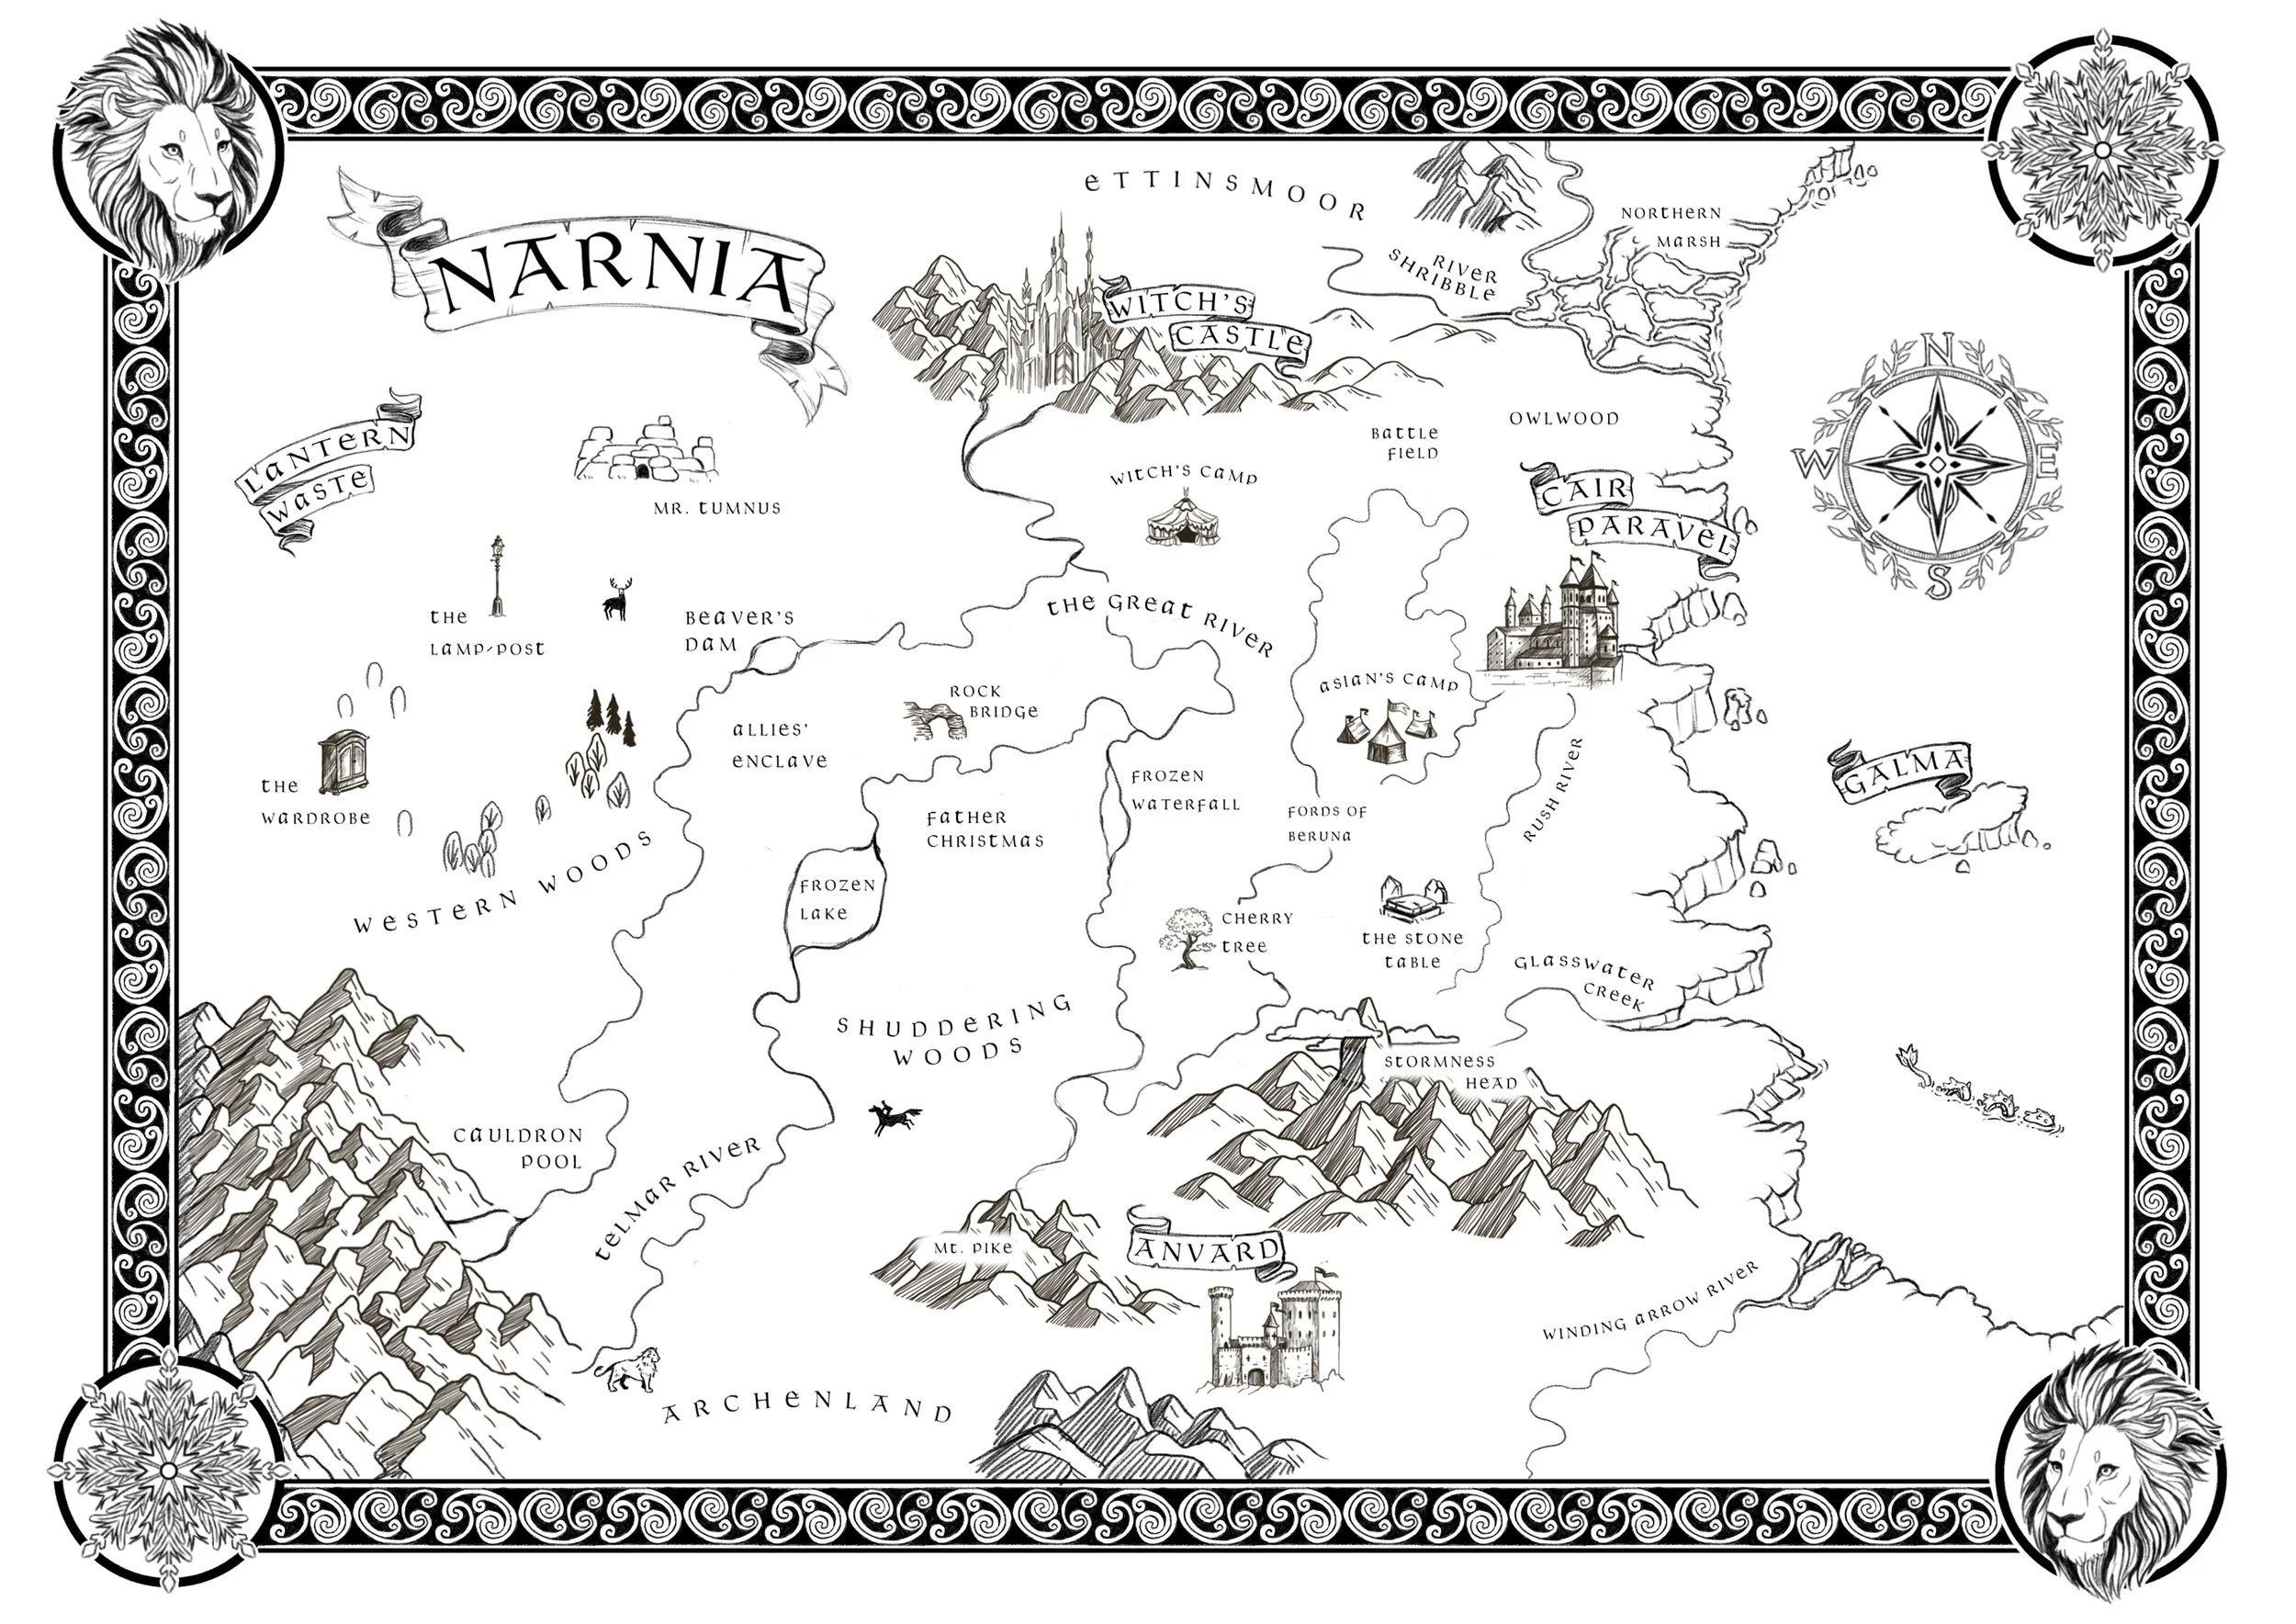
Bringing it to paper
Traditional inking and finishing
I print the design and trace it onto paper using a lightbox, including the lettering. I like the character of handwritten text, so I use the digital layout as a guide rather than keeping the final lettering entirely digital.
I then draw the details by hand using waterproof fineliners, brush pens and fountain pens, either on Bristol Broad paper or hot-pressed watercolour paper. White calligraphy ink helps me tidy up any mistakes before I scan the finished map and make a few final adjustments in Photoshop.
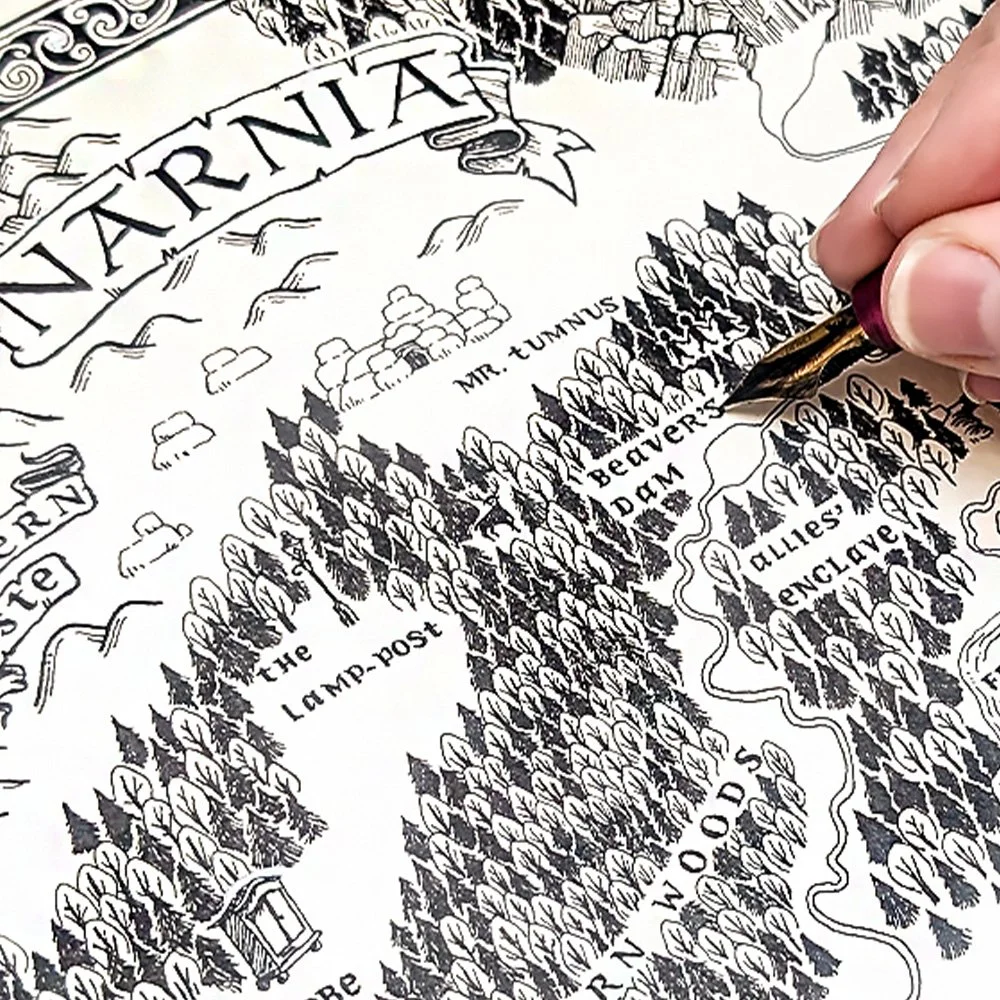
Adding detail and lettering
Once I'm happy with the layout, I move into Photoshop to experiment with fonts for the place names. I then return to Procreate to develop the landmass, add landmarks and build up the decorative borders and banners around the lettering.
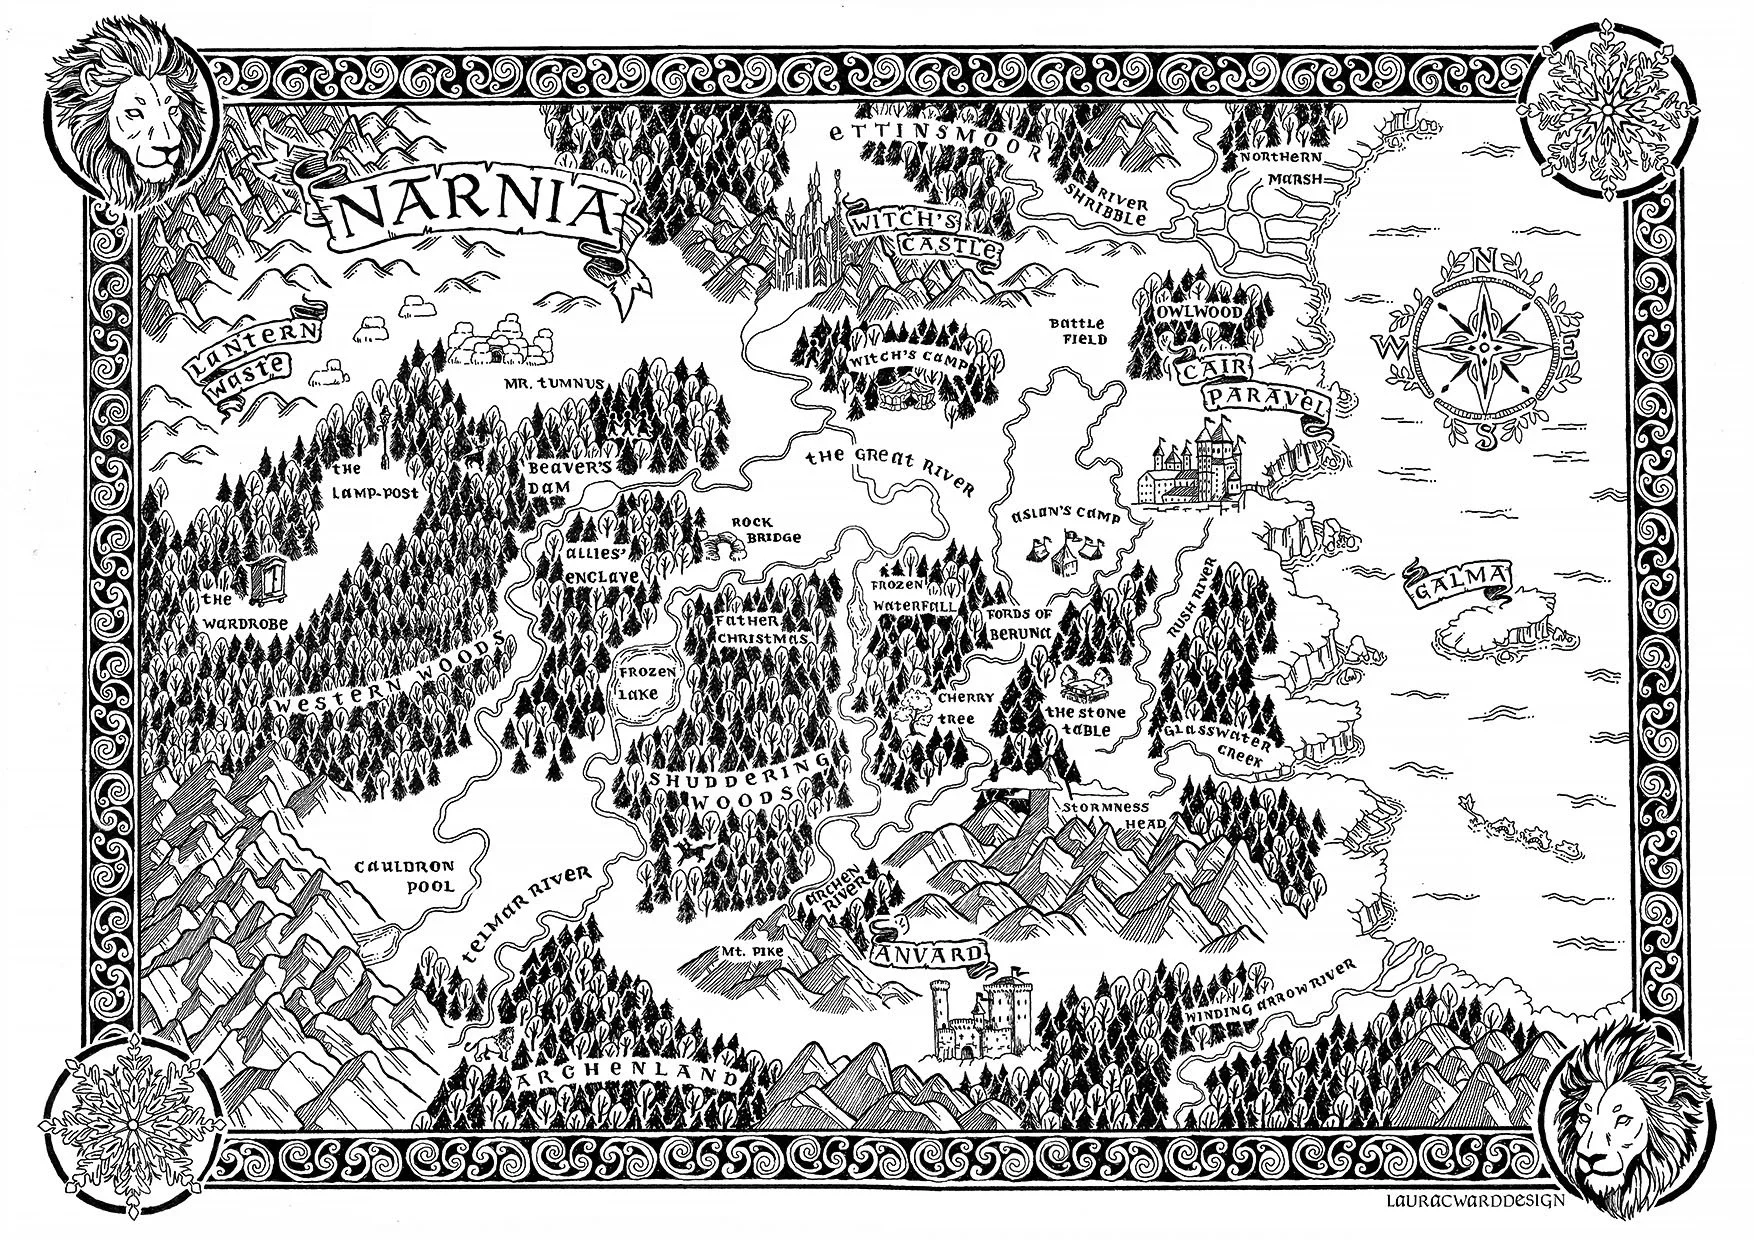
My aim was to create a map that felt like it came from Narnia itself. This series is one of the most inspiring from my childhood, and I’m so glad I was able to include as much detail as I did!